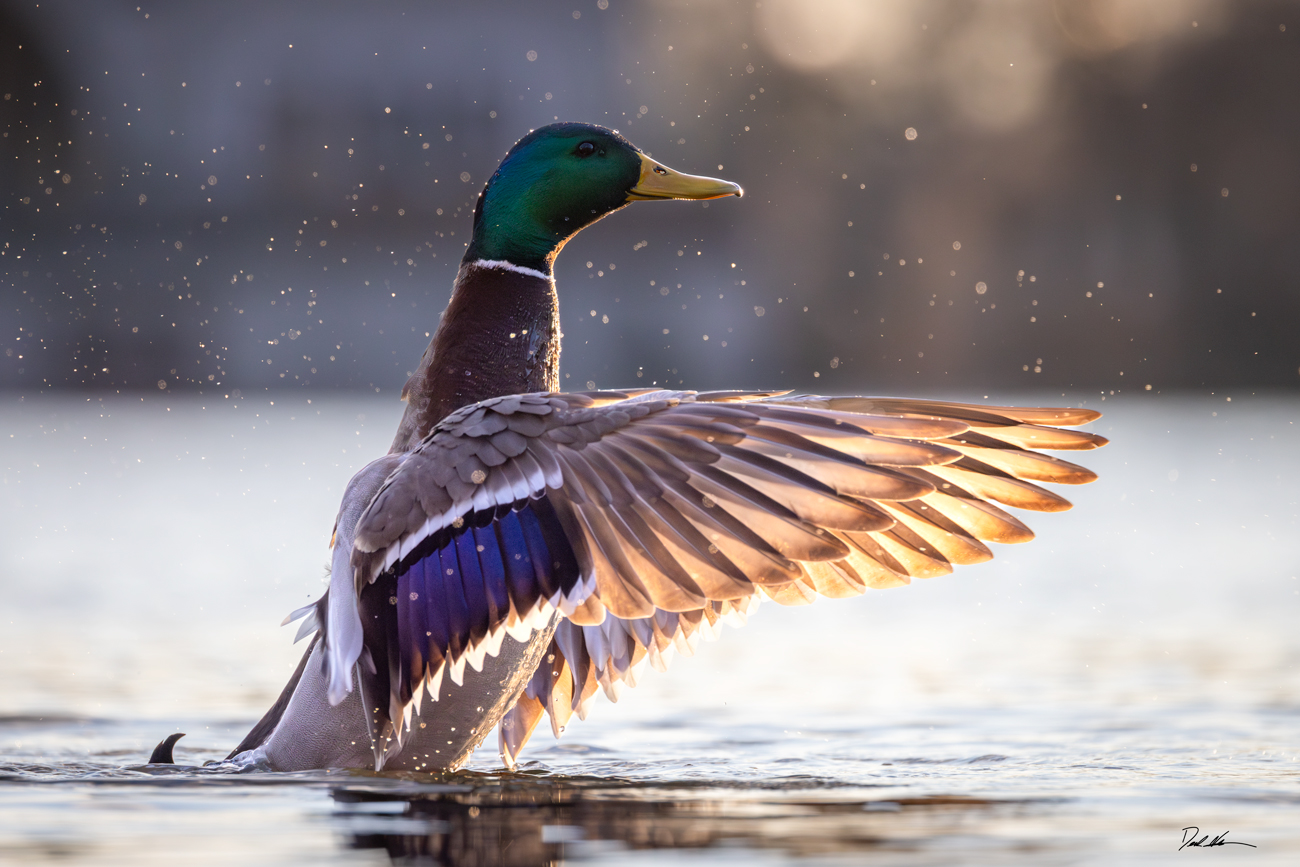
Duck photography is a great way to practice your skills as a wildlife photographer. In North America, ducks are common in our lakes, ponds, and rivers. As a conservation nature and wildlife photographer, I always seek new ways to keep my skills sharp or learn new things. Will your photos of local ducks grace the walls of a museum or the pages of National Geographic? The chances are unlikely, but you never know. However, these opportunities to practice wildlife photography are priceless, and these tips are important to consider.
Study ducks behavior.
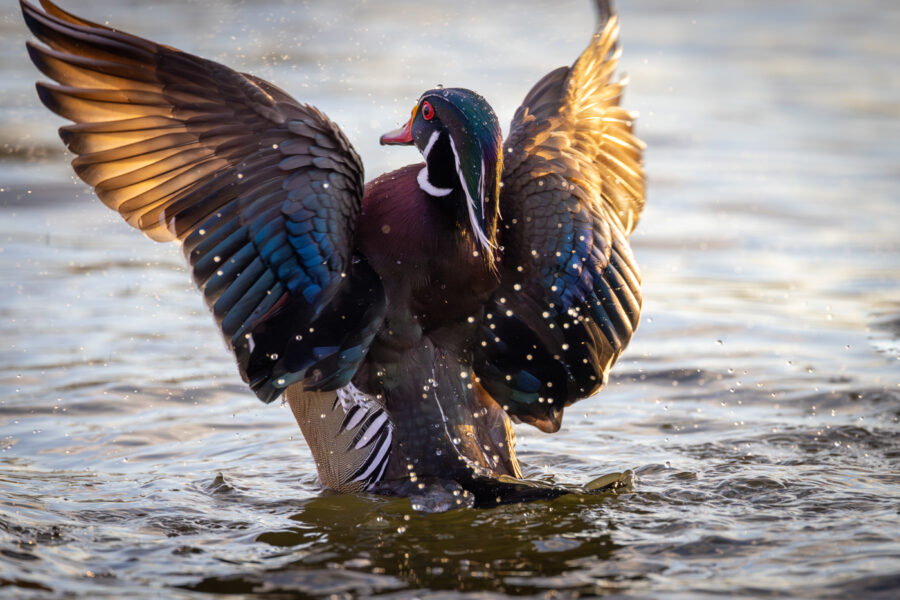
An intimate understanding of any subject will infinitely improve your photos. Unlike many bird species, ducks are less erratic when flying. They have a consistent flight path when landing in water. Moreover, they are even easier to track in water due to their relatively slower predictable movements. Larger species of waterfowl take extra time to get up in the air. Use this understanding to grab nice shots of their wings touching the water.
Courtship displays are good times to get action shots. When a duck raises straight out of the water to flap its wings to impress its female and intimidate its rivals can be the best time to grab a unique composition. Set the camera to burst mode or high-speed continuous and let the camera capture the perfect moment.
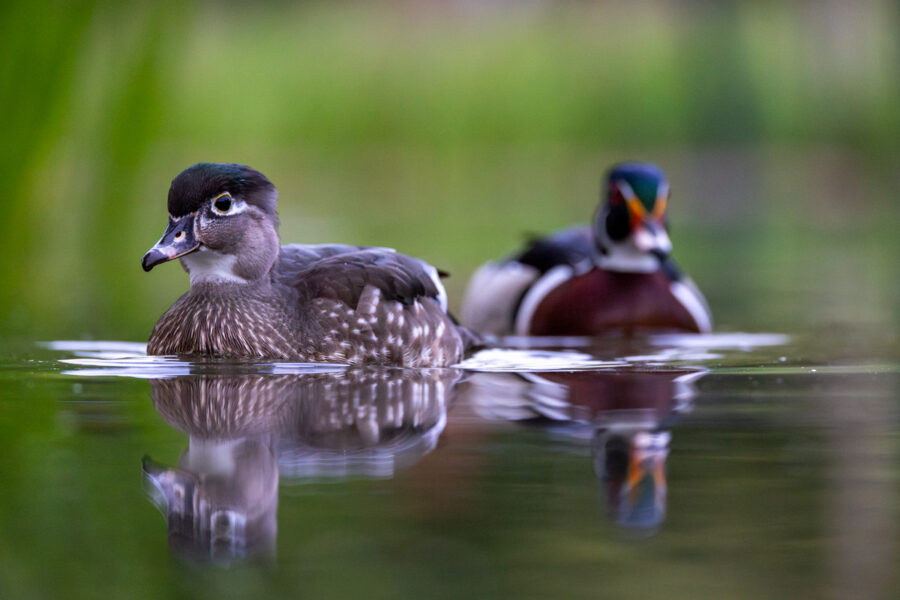
Understand what they like to eat, where they like to rest, and how they react to human presence. Wood ducks are more timid than Mallard ducks. When I go to my local park, the geese and mallards approach me first, looking for food, but the wood ducks always keep me at arm’s length. In a city like Chicago, inevitably, someone finds joy in feeding the ducks. I don’t bring food because, ethically, it crosses a line I’ll explain later.
Every species is a little different, so the more time you spend with them, the better your photos will become.
Understand your location for better photos.
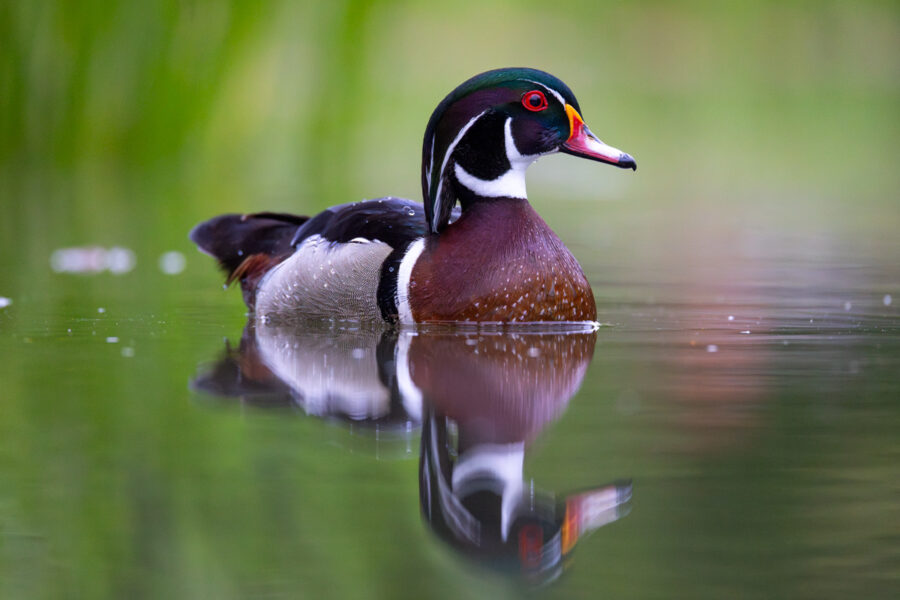
First and foremost stay safe. All local and city parks are not created equally. Humboldt Park in Chicago where most of the images in this story were taken has its issues with crime and homelessness. Always pay close attention to your surroundings and use common sense.
That being said, I love Humboldt Park for duck photography and bird migrations. Understanding your location allows you to have a better chance of finding your subject and stronger compositions. Where does the sun rise or set? Where do the ducks like to gather? What locations in the park make for better backgrounds in my final shot? These are all important questions to consider.
Certain portions of my local parks lagoon are windier than others. The open water areas are harder to shoot in than the narrow channels protected by the wind. The environment plays a huge role in the outcome of each photo, having a better understanding of your location is a good way to increase your odds of turning good photos into great photos.
Set yourself up for interesting compositions.
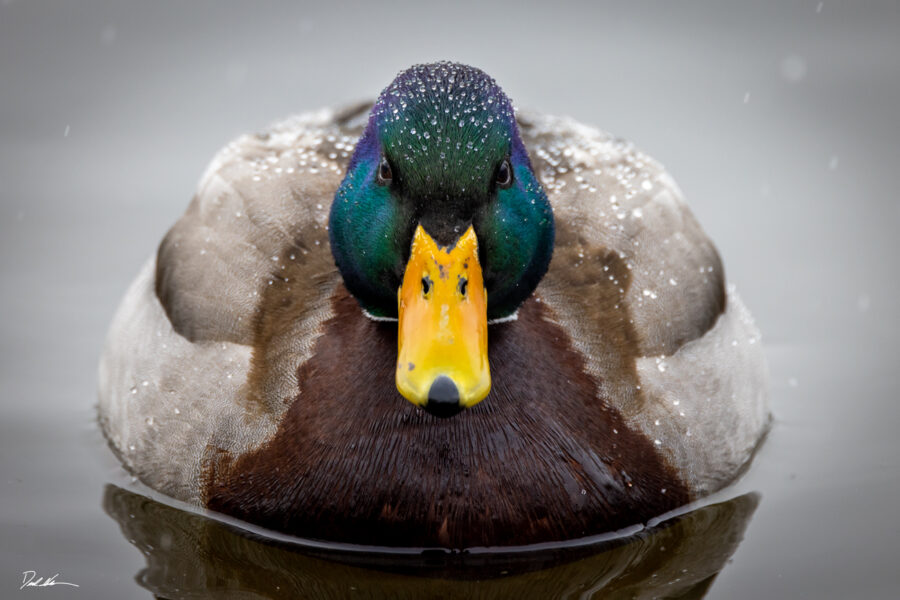
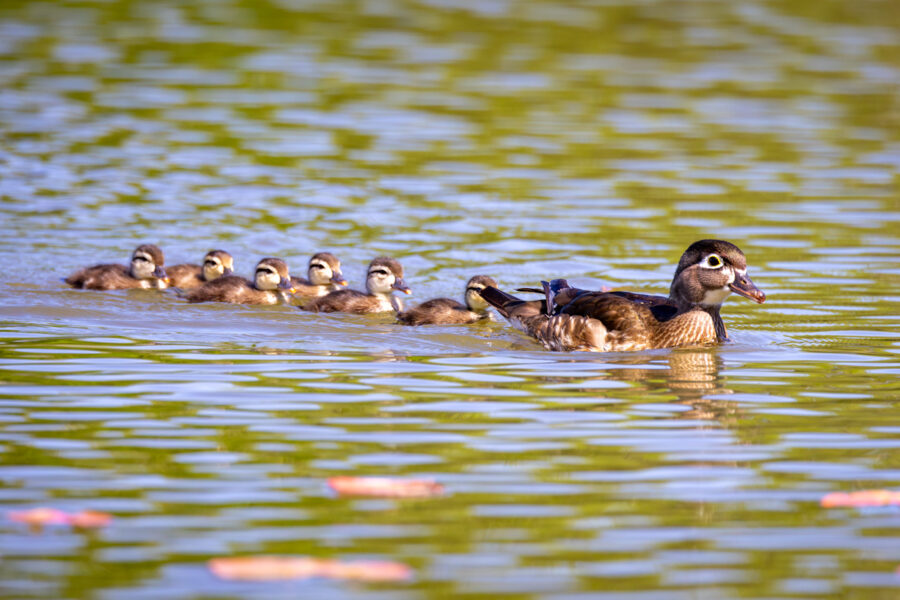
Small animals are more attractive to shoot from a low angle because it gives us an inside look into their world. Laying flat on the water’s edge creates wonderful reflections of your subject on the water. This position also makes you less of a threat, allowing the ducks to relax. Relaxed animals, including wild ducks, will go about their business when they don’t feel threatened. For instance, after spending a few moments with a mother duck and her ducklings this spring on several different occasions, she felt it was safe enough to come over to my side of the lagoon, which allowed me to get some beautiful shots of them. I gave her space and built trust.
Landing shots, or courtship displays, add an element of action to the scene. Consider both portraits and environmental shots. Portraits are great, but sometimes, the environment included in the composition tells a stronger story. Water droplets and feather details are always a favorite theme for my online audience.
Use the light in your favor for the best shot.
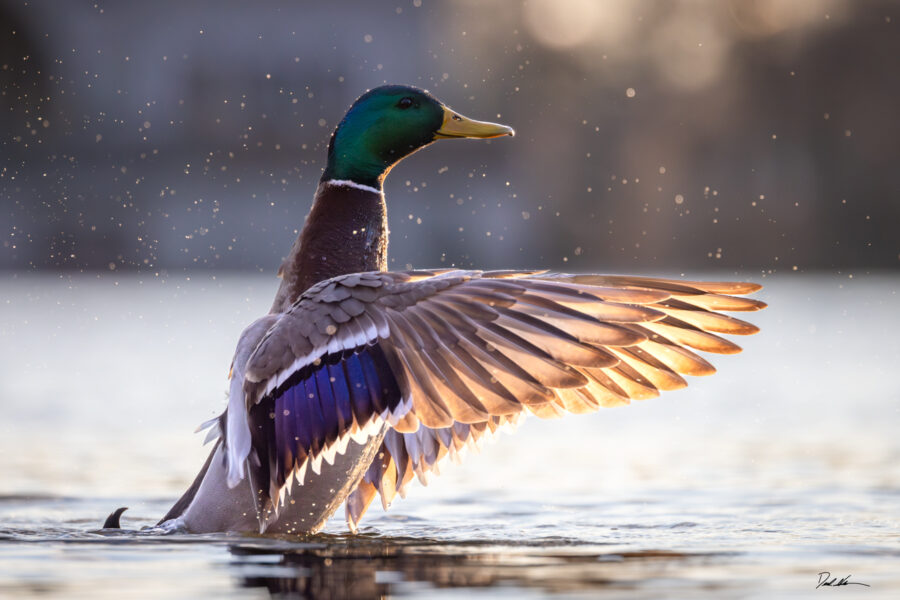
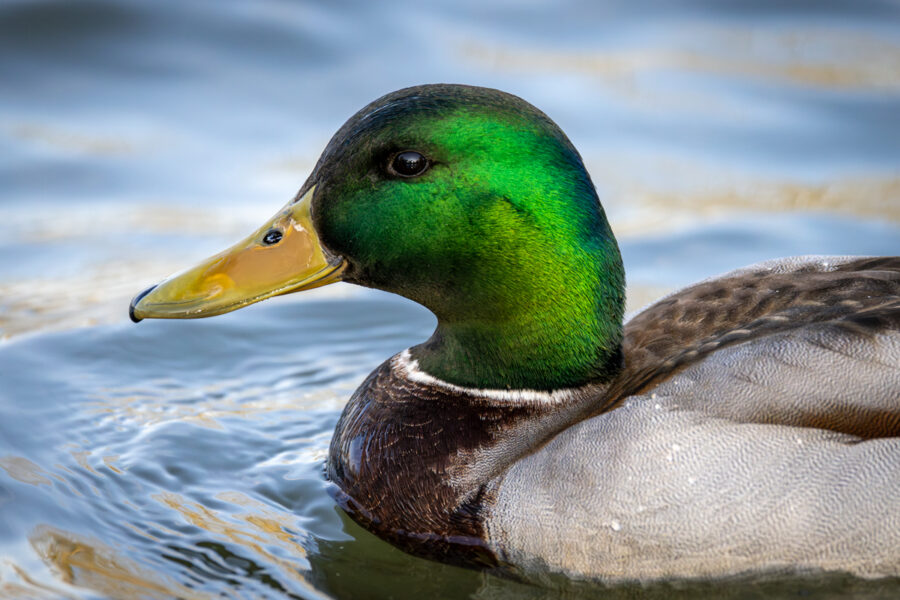
Photographers have long coveted golden hour and blue hour as the best times to photograph wildlife. For the most part, waterfowl photography is not different. Good-quality wildlife photos need quality light to make them special. I can argue that with certain species, like the mallard duck, mid-day will work because the brilliance of their head features really shines in bright light. However, I strongly encourage you to get up early for a few days to practice at sunrise.
Like most wildlife, duck species are most active in the early morning, which is perfect for the lighting conditions we want. Front lighting or backlighting creates a very different final image. An early morning or late afternoon sun, when placed behind the photographer facing the subject, highlights the details in the feathers and saturates the color. However, when placed behind the subject in front of the photographer, this creates silhouettes, making negative space and adding a rim light to the subject.
Compositionally strong photos have pulled from many important elements of photography: Dramatic lighting, contrast, use of space in the frame, golden ratio and leading lines. All of these can help make a photo really pop but light is a photographer’s secret weapon.
Find the best camera settings for great photos.
When I arrive, my camera settings are usually slightly different from the day before. However, good practice is to have a few key settings as a starting point and then adjust from there. For the best outcome, knowing the look you are trying to achieve ahead of time will go a long way. Sketch or visualize your scene, and then go create it. I recommend studying the basics of nature photography and practicing often to gain a better understanding of what the camera will do for you.
Key settings for wildlife photography
- Mode – Manual mode – Having control of the shutter speed and aperture is helpful when photographing a moving subject in challenging light. Aperture priority mode is another I will use if the light is bright enough and all I need a wide aperture.
- Aperture – f/4 or as wide as the lens will allow, but rarely do I go beyond f/4 at risk of creating too narrow of a depth of field on a subject. Particularly, if I am trying to show as much detail as possible from beak to tail. If I want to include more of the environment I will go to f/8 and see if it needs more or less background detail.
- Shutter speed – 1/1000 second or faster to ensure a sharp image. Of course, motion blur is fine with a slower shutter speed if you are going for a different look.
- ISO – 1000 + or as high as my camera allows me to get a fast shutter speed and open aperture. Noise can be fixed, but blur cannot. Higher Iso allows for fast shutters. ISO of 100 is lovely but rarely do I find myself going down that low for wildlife photography. Landscapses, on the other hand, yes.
- Continuous focus – Servo mode in Canon cameras keeps the subject in focus even when they are changing distance from you.
- High-speed continuous – H or H+ on your drive allows you to take many frames per second, capturing the perfect moment.
Choose the best camera gear for duck photography.
Camera technology has improved so much over the last few years. Most commercial brands make a wide range of cameras at any price point that will get a great shot. Here are some “must-haves” and a few “nice-to-haves.”
“Must-have” camera gear for duck photography.
- A quality camera – this seems like a no-brainer, but in the end, it depends on what you want to use the photos for. Even a phone these days can get a perfect shot of a duck, but if you want to print it, a decent DSLR or mirrorless camera goes a long way.
- Telephoto lens – If you want to photograph ducks or any wild animal, it is important to give it space. A decent telephoto lens keeps you and the animal safe. It also allows for incredible flight shots from a low perspective as the ducks come in for a landing.
- Fast memory card – When shooting multiple frames per second, a fast card prevents file buffering and slows down your camera. You don’t want to miss the shot because your camera is “thinking.”
“Nice-to-have” gear for duck photography.
- Waterproof blanket – to get near ducks, a waterproof blanket will allow you to lie down in moist areas along the water’s edge without getting soaked.
- Camouflage – for species bothered by human presence, camouflage allows the photographer to get closer to subjects while remaining unseen.
- Circular polarizing filter – this cuts down on glare in the water and light reflecting in the feathers.
- Bug spray – mosquitos love moisture, so plan on being attacked in mid to late summer.
Practicing ethics of wildlife photography and duck photography.
No photo of an animal should ever put the animal or the photographer in harm’s way. Consider every decision if it is in the animal’s or solely your best interest. Sharing a space with an animal is completely fine. Watch for signs of stress and move on if they are just not happy with you being there. If an animal returns to its regular activities, there is a good chance it doesn’t care that you are there. In parks and cities, people feed ducks all the time. In some ways, they have become domesticated animals. That said, I feel strongly about not baiting animals with food or any objects to get a photo. We should not be altering their behavior. While I understand a duck is different than a bear or a mountain lion, baiting animals for photos is unethical. There are better ways to get a shot.
Post-processing duck photography in Lightroom and Photoshop.
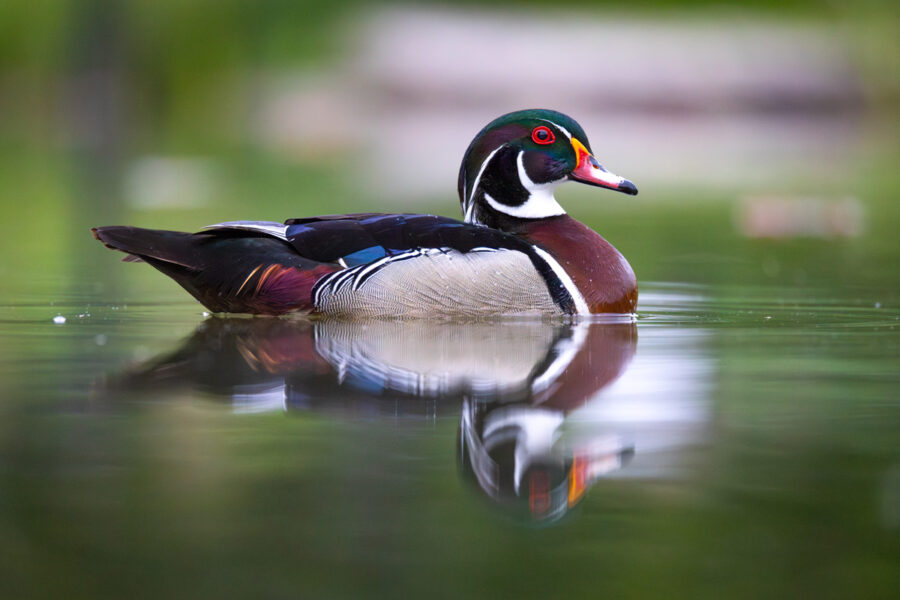
I like to shoot all my photos in RAW format, slightly underexposed, to save as much detail as possible. Exposing for the highlights works well. Using a histogram and checking for clipping works well in theory, but I find moving subjects in changing lighting gives me too much to think about. In turn, I typically underexpose my scene by a half stop or a full stop, depending on the light. Because of that, When I pull my photos from the memory card onto Lightroom, these are the adjustments I usually have to make to the final image.
- Exposure – slight shift to the right to bring the exposure back to neutral.
- Highlights – slight shift to the left to take the intensity down.
- Shadows – shift to the right, often more than 50%, to bring out the detail while still keeping it natural.
- White – shifted to the right to brighten the scene. This is important, particularly when printing. It gives the print a lively feel coming from a dull RAW file.
- Saturation / Vibrance – Both shift to the right, but neither of them ever has more than 15%. Over-saturated images are unpleasant and a sign of overcompensating for a compositionally uninteresting image.
Falling in love with duck photography
I never thought I would enjoy photographing ducks as much as I now do. As someone who has seen some of the most exotic species on earth, I thought ducks wouldn’t keep my interest. I was wrong. After spending hours and hours with them recently, I have grown a new appreciation for them. Their charming personalities and beautiful colors show off well on camera. Spend time with your local wildlife, whatever it is. If you dream of becoming a world-class wildlife photographer or simply photographing animals as a hobby, practice is incredibly important. Thank you for joining me for another article on wildlife photography. For similar articles on various topics, please explore my news section for additional content. Now go get out into nature!
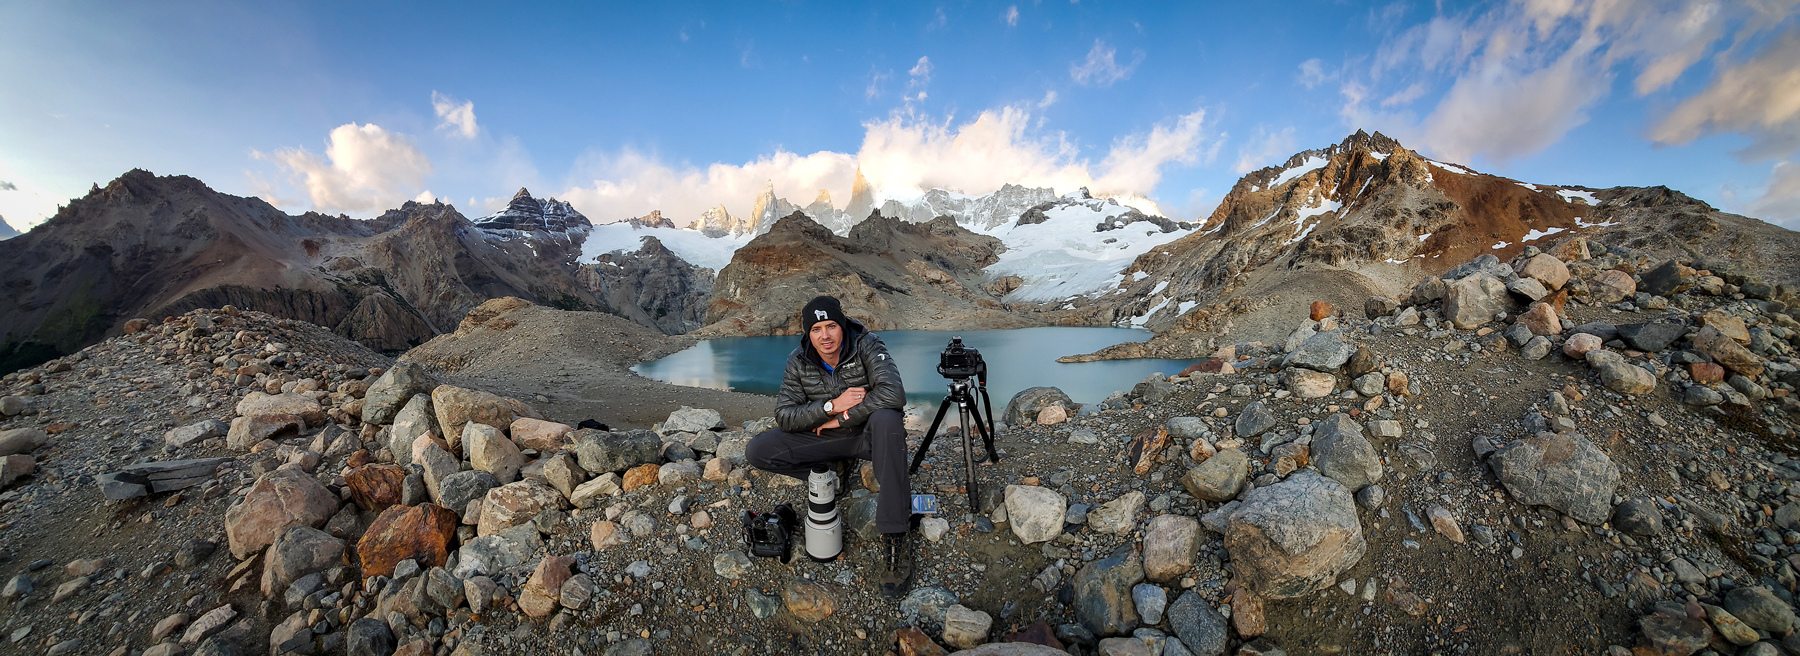
Hello! I'm Derek.
DEREK NIELSEN PHOTOGRAPHY RAISES AWARENESS ABOUT THE GLOBAL NEED FOR CONSERVATION THROUGH PHOTOGRAPHY AND DONATES UP TO 15% OF ALL SALES BACK TO ENVIRONMENTAL ORGANIZATIONS AROUND THE WORLD.
