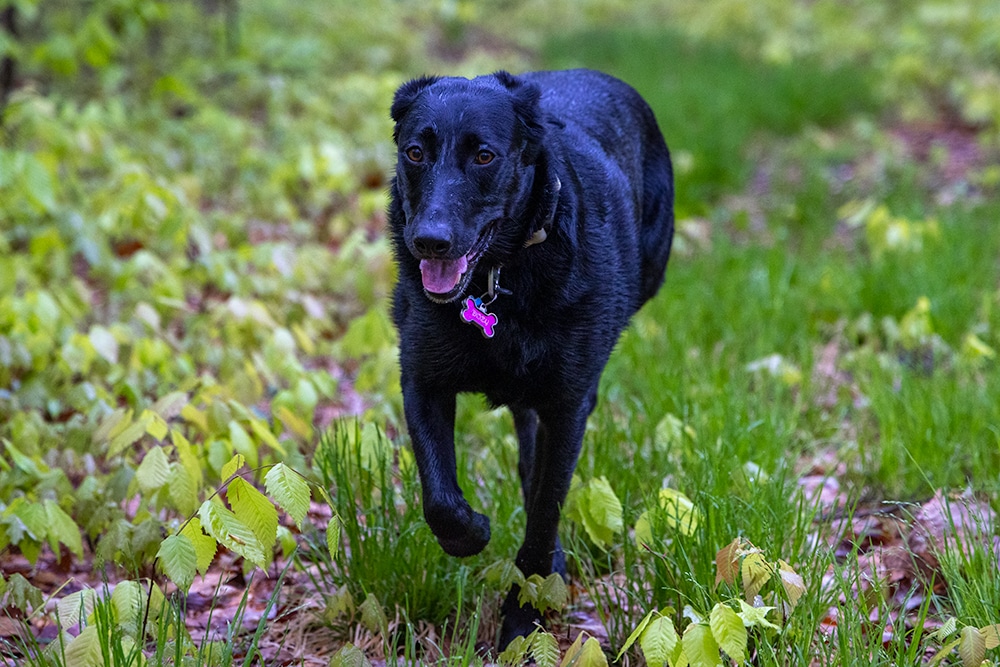
Have you ever wondered how professional photographers capture such clear, engaging cat or dog photography for pet magazines or calendars? If you’ve got a camera roll full of your own disappointed blurry pet photography attempts, you know it’s certainly not as simple as “point and shoot.”
I have traveled to all seven continents photographing wildlife and no matter how far I go, perhaps my favorite subject is my dog, Dozy. Originally a rescue, she has come out of her shell over time and now provides laughs wherever she goes—often while serving as the subject of my photographs. Over our years together, I’ve collected a few sure-fire dog photography tips and tricks that have not only helped me capture many treasured images of Dozy, but would work for any pet.
To get you started on your pet photography journey, read on for my top five, simple tips guaranteed to help you capture the best photos of your favorite family members: your pets.
1) Pay attention to your pet inside the composition
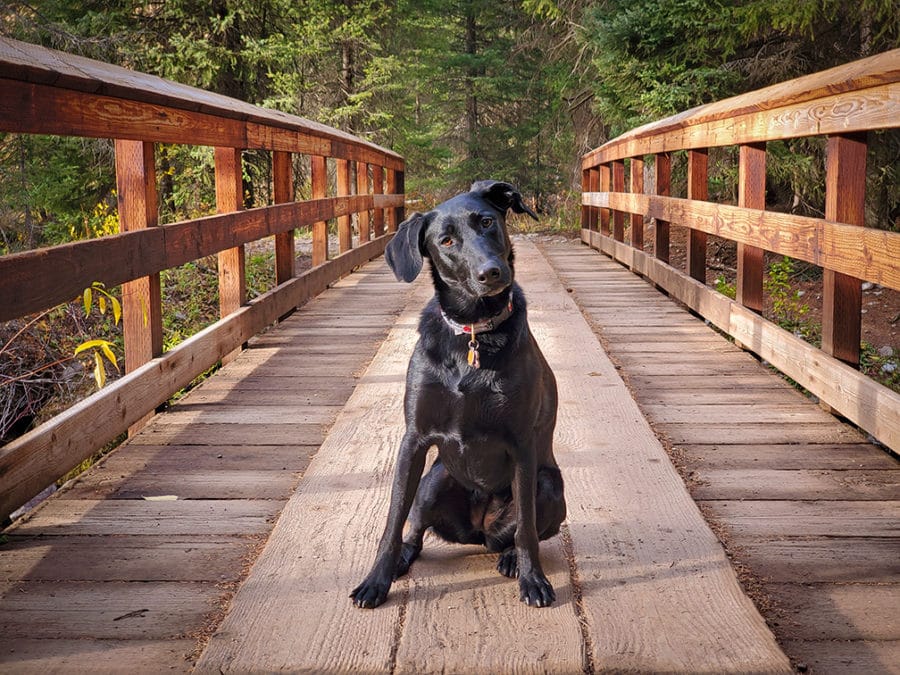
Great pet photography, like any photography, starts with great composition ideas. Use leading lines or look for other natural elements around you to include in the shot. In this first example of dog photography, notice how the leading lines of the bridge draw your attention to the middle of the image—right to the Dozy’s adorable face.
You can also use techniques like the rule of thirds, placing your pet on one of the intersections of the vertical and horizontal lines. Or bring your furry friend outside and allow them to shine in their favorite places.
If your pet is the inside-only sort, you can use other elements in your composition. Try surrounding your cat with his favorite toys or wrapping your dog in his favorite blanket. Whatever you choose, your best option is always to create an image that speaks to the personality of your pet.
2) Focus on the eyes of your pet
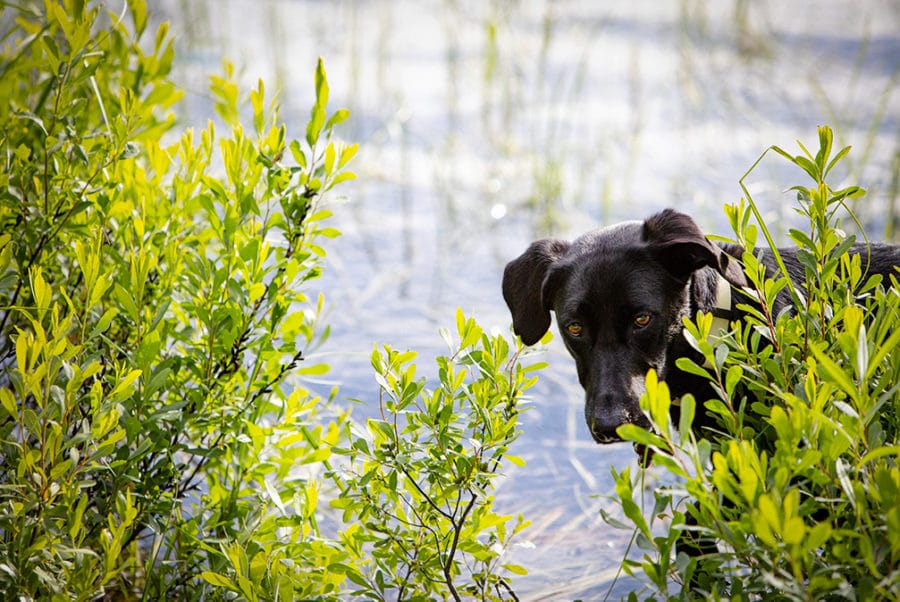
One of the first tips I give to any aspiring wildlife photographer is to make sure you get the eyes of your animal subjects in razor-sharp focus. This advice applies to pet photography as well. When a photograph gets the eye of the animal in focus, it instantly helps make a connection between the subject and the viewer.
New cameras and phones automatically hone in on the eye, helping with this curtail step. But if your camera doesn’t have that technology, no worries. Just practice getting the eye in focus manually, and you’ll see a big difference in your pet photography.
3.) Use the right camera settings for pet photography
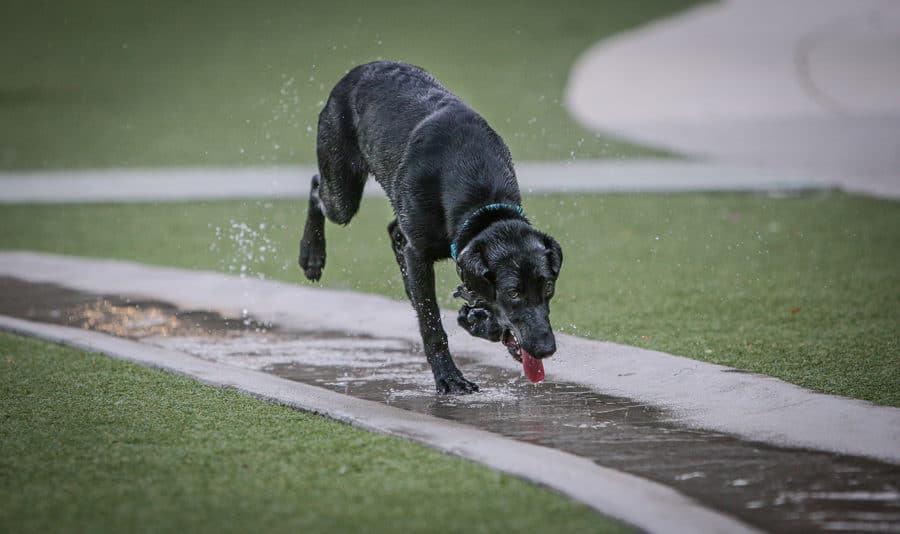
There are a few camera settings I wish I had learned earlier in my career because it would have saved me a lot of “I missed the shot” heartache. Of course, no single camera setting fits all shots, but this shortlist of pro hacks will take your dog photography (or cat, or guinea pig…) a long way.
Shutter speed between 1/1000 to 1/2000 of a second
Animals move. No surprise there. And it can make getting sharp images of them while they’re moving very challenging. But shutter speeds in this range, depending on the speed of movement, should freeze your subject and result in razor-sharp images in almost any condition.
ISO 800
This is a pretty solid ISO setting where you can get clean images without a ton of noise. While there are always reasons to go up or down from here, it’s a solid place to start.
Aperture Priority (AV) mode
If you’re uncomfortable shooting in manual, or just want to do less thinking, then this is your setting. In Aperture Priority mode, you pick the desired depth of field and then the camera automatically chooses the correct shutter speed to match.
AI Servo focus mode
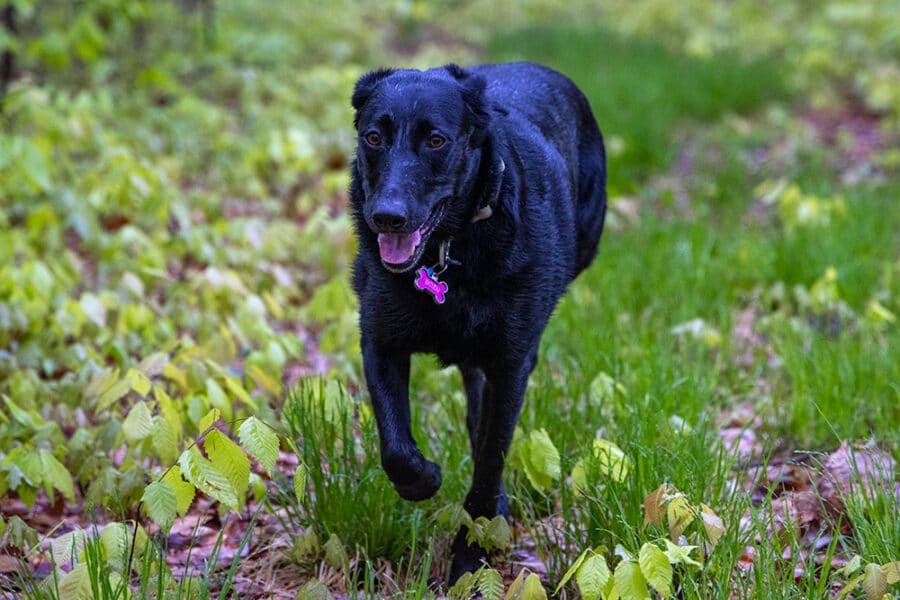
Imagine your puppy bounding toward you in a field. How quickly could you react to manually adjust your settings to capture a clear image? Thankfully AI Servo continuously tracks moving objects and keeps them in focus for you. Simply lock onto the subject by pressing your shutter button halfway down. Then, when you’re ready to capture your image, fully compress the shutter. Voila! Perfectly focused dog photography.
4) Get down to your pets level

“Go low” is one of my favorite pet photography tips for capturing engaging animal photos. Because when you get down to their level you make a different sort of connection with the animal. You step inside their world. When you get down to direct eye level with them you eschew dominating body language and become more approachable. Think of how they respond to you when you lay on the floor. It takes them out of a working mindset and lets playtime begin. Plus, going as low to the ground as possible can help create a fun, supersized version of your pet.
5) Try black and white for pets
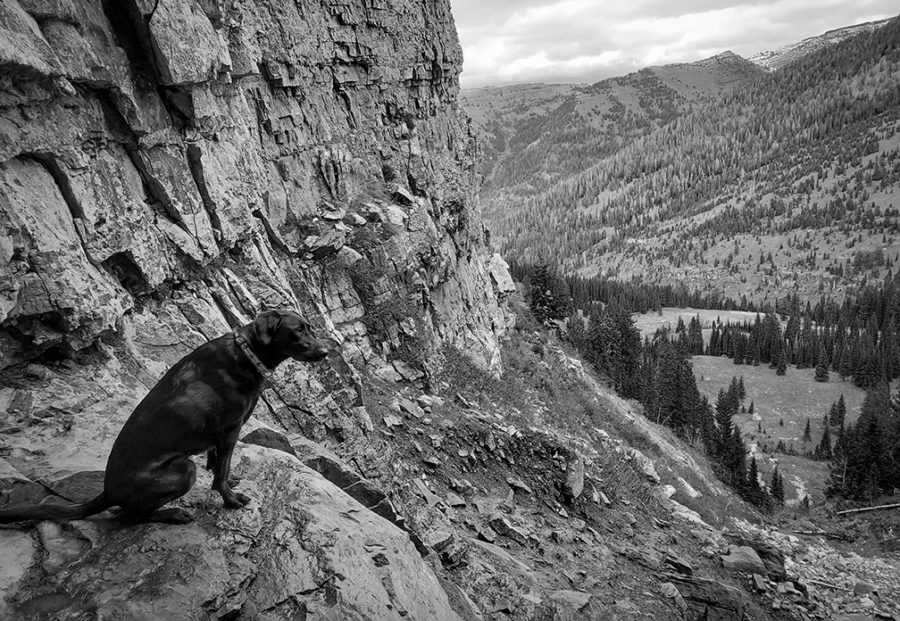
Black and white photos are timeless. They immortalize your subject in ways color photos just don’t. Details of texture emerge in the absence of color variation. I often switch to thinking about black and white compositions when the light becomes harsh and less attractive for color.
There is no need to change any of your camera settings to shoot in black and white. Simply shoot in as you normally would and remove the color in post-processing. One way to create a black and white image from a color one is to desaturate the image in the saturation menu. However, this method often leaves the new photo feeling flat and dull.
My preferred approach is to instead convert the image to a smart object in the layers menu. You then select “camera raw filter,” from the filters menu. From there, select the black and white option. This process gives you control over your image in a less destructive way. You can now adjust the reds, blues, and other colors to achieve the precision you’re going for in your final image.
Bonus pet photography tips for black coats
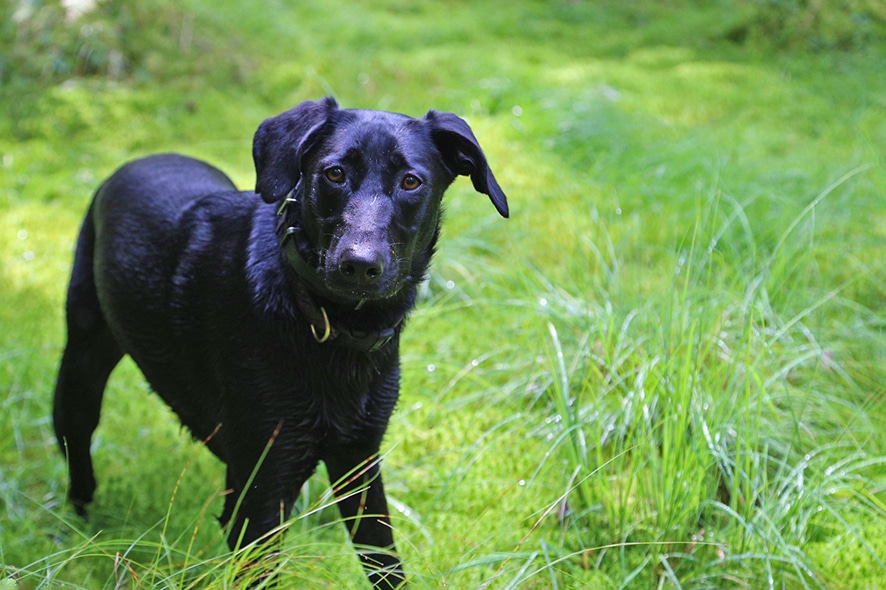
I never knew this was an issue until I became the owner of a black dog, but their beautiful black coats make them nearly impossible to photograph! Why? Their dark fur soaks up all the light, hiding crucial details. (This is not just an issue photographing dogs, of course. I’ve also dealt with it in other creatures, like moose).
Luckily, there are some specific pet photography tips for just this scenario:
-
- Place a light source at your back. This can be the sun or a light in a room. Doing so will create texture in your pet’s coat and give them a natural look.
- Use the shadows slider in your photo editing software to reveal any missing details.
- Get your pet dirty! It’s a lot of fun for both of you, and it makes for great photos.
- This last one is random, but fun. While writing this article I discovered that if you pull the slider in your photo editing software’s hue/saturation menu, everything but your dark-coated pet will change. Funky dark dog photography bonus!
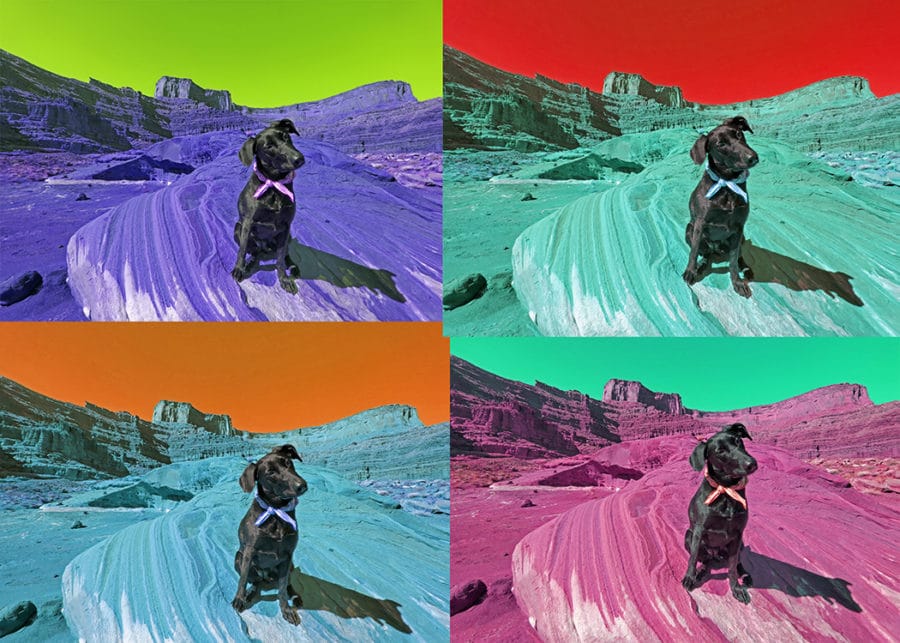
Turn your pet photography into art
If you’re a pet owner like me, you probably have more photos of your furry friend on your phone than anything or anyone else. And it’s no wonder why. Our dogs and cats and other pets make for incredible additions to our families, giving us the unconditional love and laughter we need in our lives.
I hope these pet photography tips will help you move from snapping frustratingly blurry phone pics to having fun capturing engaging images of your pets that you’ll be proud to hang on your walls.
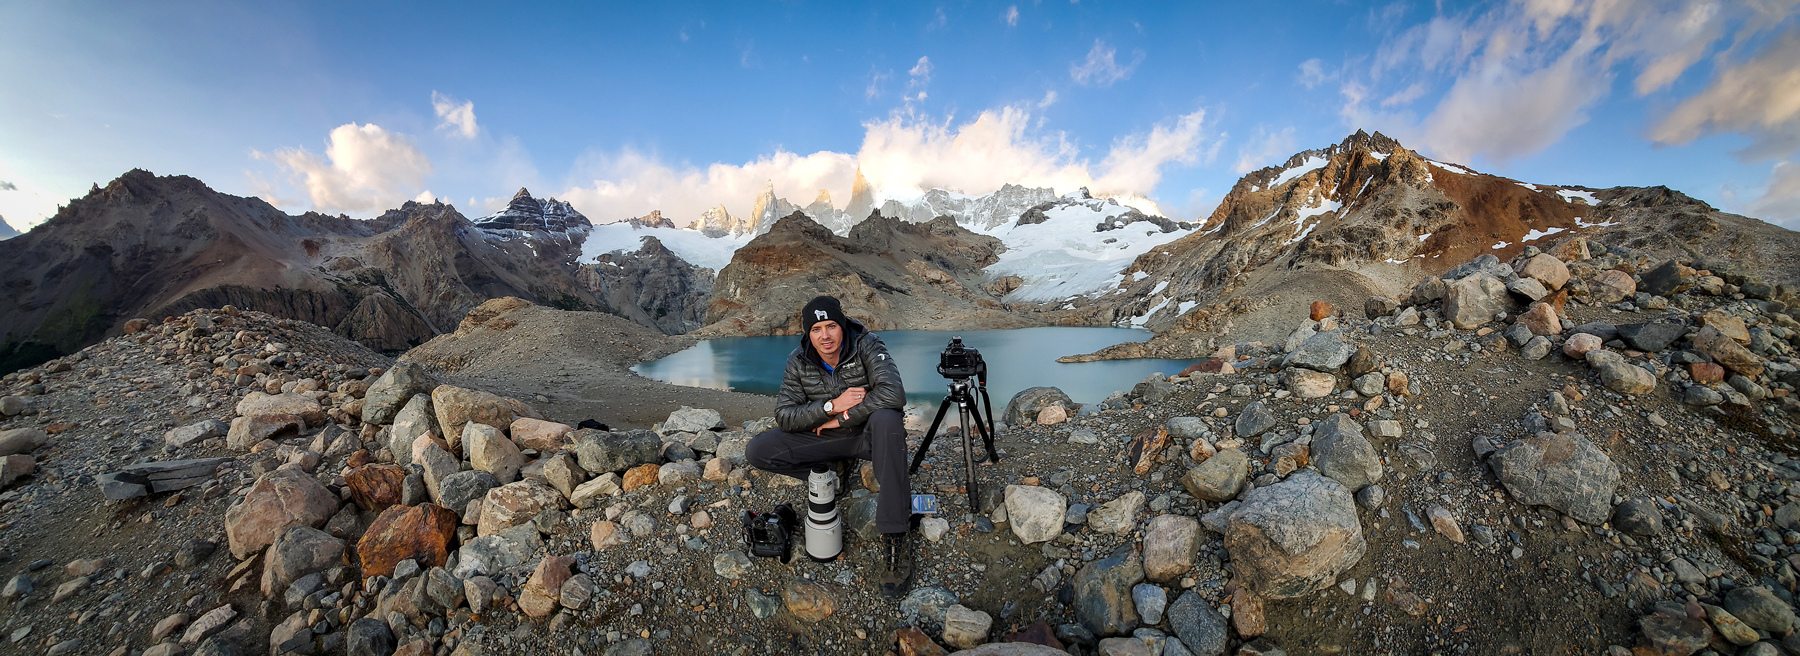
Hello! I'm Derek.
DEREK NIELSEN PHOTOGRAPHY RAISES AWARENESS ABOUT THE GLOBAL NEED FOR CONSERVATION THROUGH PHOTOGRAPHY AND DONATES UP TO 15% OF ALL SALES BACK TO ENVIRONMENTAL ORGANIZATIONS AROUND THE WORLD.
