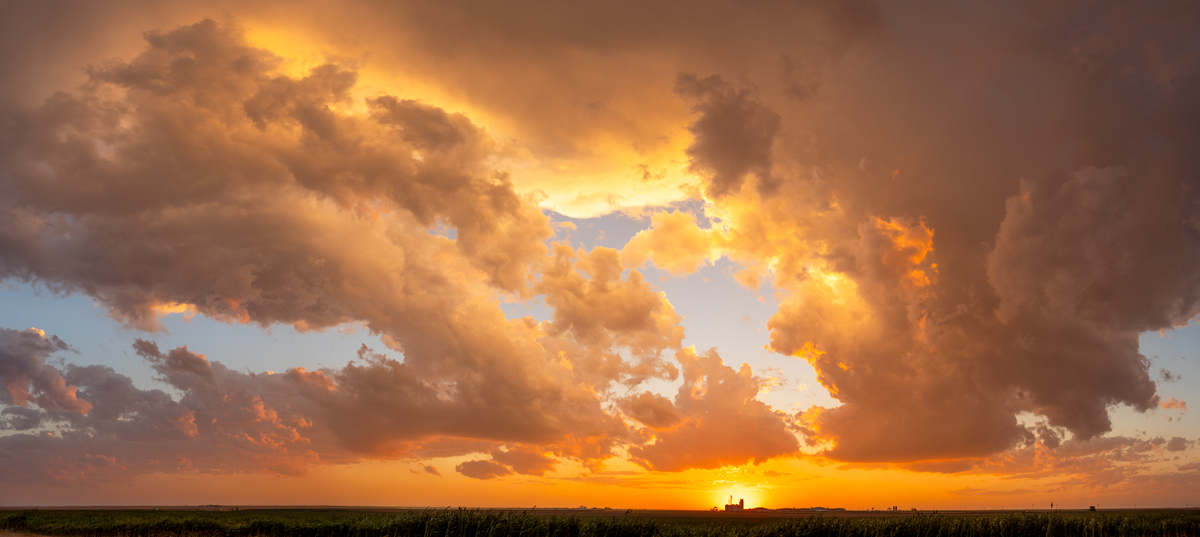
Sunset photography is one of the more popular times to pull out the camera and capture a beautiful moment. You reach the end of the day. The setting sun approaches the horizon, but for some reason, you just can’t get your camera to capture what your eyes are seeing. Does this sound familiar? Don’t let that golden hour slip away. Without wasting any time, let us dive into the best tips for getting beautiful sunset photos.
Best Camera Settings For Sunset Photography
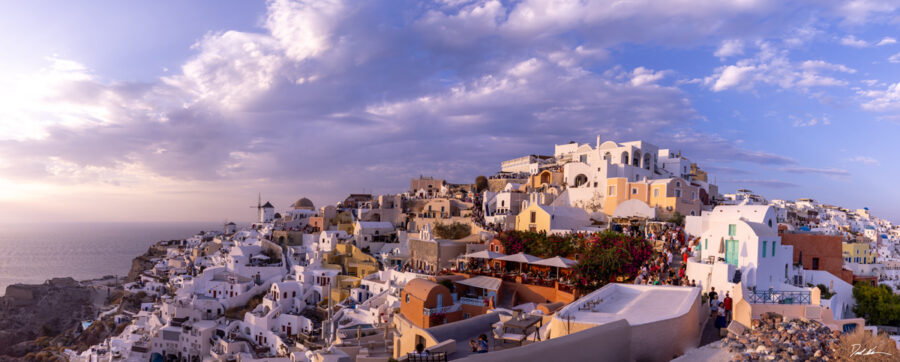
Knowing your camera settings will make or break any sunset shoot. Try taking the first shot in auto mode. This shows you what the camera’s calculations are for a perfect exposure. It may not look great. Sunset photographs are challenging because we have a wide range of light coming at us. The sun is very bright, casting shadows on everything between us and the sun. So, how do we get the correct exposure for the highlights and shadows, getting the final image as close as possible to what we see with our eyes? By understanding your camera settings.
Full Automatic Mode (Auto)
This setting lets the camera do all the thinking. The internal computer calculates all the exposure components. Point and shoot. This can result in beautiful sunset images, but if not, try the next setting.
Shutter Priority Mode (S or TV)
Here, you have complete control over the shutter speed, with the camera selecting the aperture and ISO. We gain control of the length of the exposure if a more prolonged exposure is all you are focused on.
Aperture Priority Mode (A or AV)
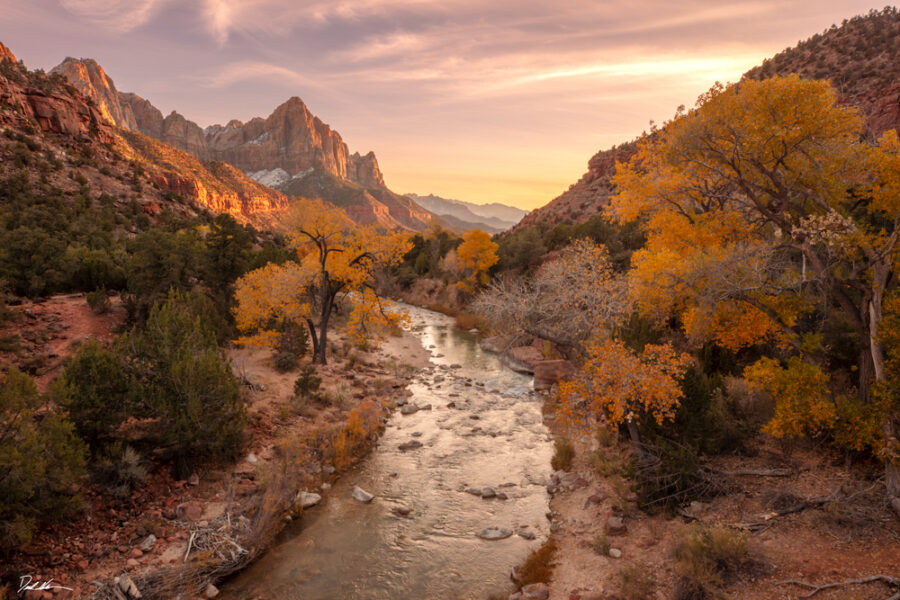
When the depth of field or blurry background is your only concern, then aperture priority mode is perfect. This allows the camera to pick an ideal shutter speed and ISO to match your intended scene. Be careful with handholding darker-lit scenes in AV mode because the camera will choose a longer shutter speed to compensate for the ideal light, potentially making your images blurry.
Manual Mode Camera Settings (M)
In manual mode, you have complete control over your camera’s exposure settings. Shutter speed, aperture, and ISO are all part of what is called the exposure triangle. Each, when adjusted, lets in more or less light to the camera sensor. Each, however, has artistic consequences for doing so.
- Shutter speed – The amount of time your shutter stays open for a single exposure. Fast shutter speeds freeze motion, while slow shutter speeds create motion blur.
- Aperture – The size of the opening of the lens to let light in. When it is wide open(large aperture), tons of light comes in, but it gives you a narrow depth of field or blurs out the background. When it is only opened a little bit (small aperture), very little light comes in, but it puts the whole scene in focus.
- ISO – This is the amount of sensitivity your camera sensor allows for light. It has drawbacks, though. At ISO 100, very little light comes in, but what does is very clean. At ISO 100,000, a ton of light comes in, but the image will most likely have a lot of noise. Find the sweet spot that works for your particular camera. New software programs make the removal of noise much better these days.
How To Use Manual Mode For Sunset Photography
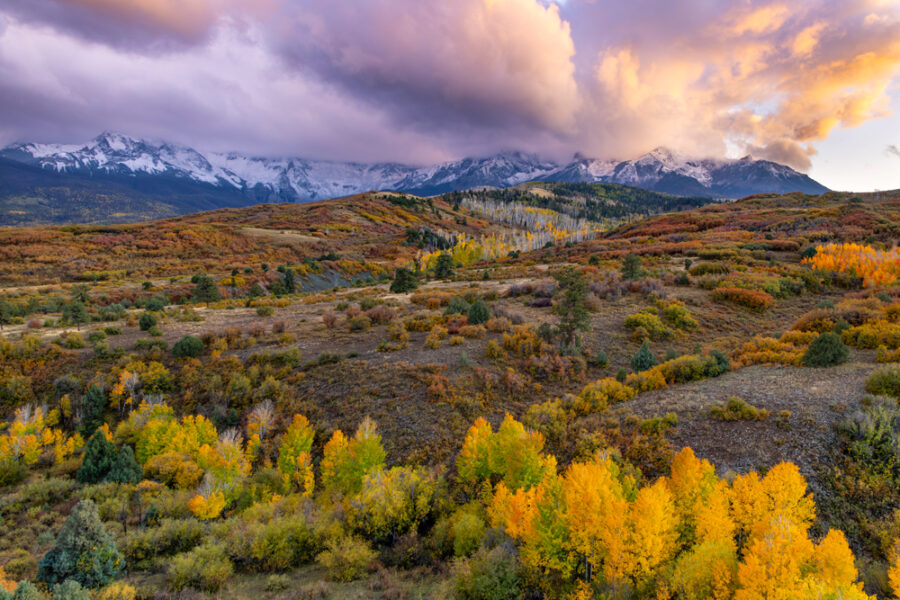
Now you know the three variables for exposure, let’s dive into how to practice adjusting each setting to help get better sunset pictures. While practicing, it is a good idea to use a tripod, take multiple photos of the same scene, and then compare the results after each adjustment.
- Shutter speed—When adjusting only the shutter speed, pay close attention to objects with motion during each time interval set. A slow shutter speed will blur moving objects. This is actually a fun, creative technique to practice. If you have fast-moving clouds or moving water, like waves or a waterfall, the moving objects will create a silky movement in the image. However, if a faster shutter speed is used, we freeze the scene, making everything very sharp. Start by taking one photo at 1/2000 of a second and work all the way to over a 5-second exposure to see how a slower shutter speed impacts your creative vision.
- Aperture – When adjusting your aperture, the depth of field changes. Pick a focal point, lock it in, and see how adjusting the depth of field impacts the final image. If you don’t want to change your shutter speed and you like the depth of field, you can adjust your ISO to add or subtract light from the scene.
- ISO – I usually adjust my ISO last when thinking creatively about a photo. Low ISO gives us the cleanest images. However, the lighting conditions may be too dark to push only the ISO alone.
Best Techniques For Sunset Photography
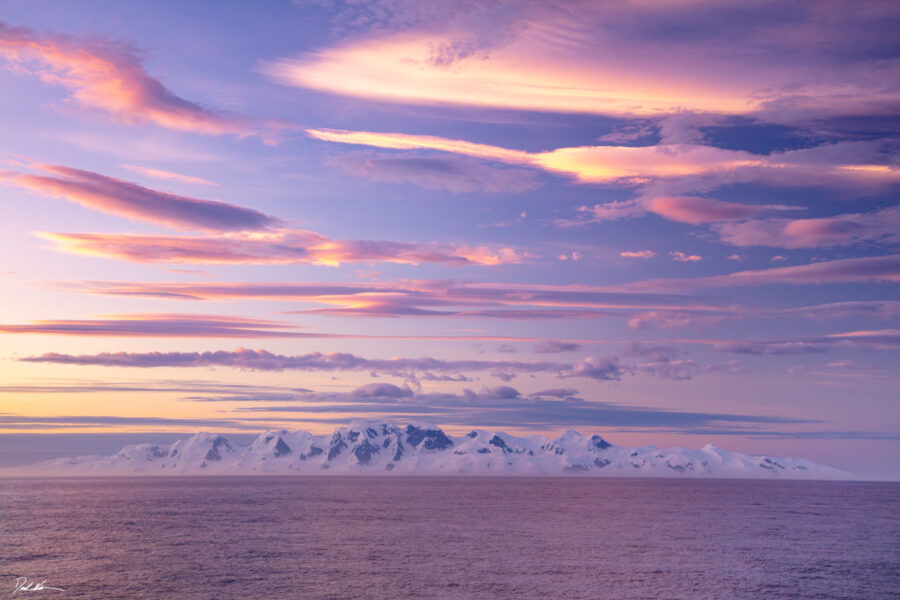
Beautiful sunset photos are easy to capture, but great sunset photos require a little more preparation. Next time you see a sunset photo that stops you in your tracks, ask yourself, “Why do I love this one so much?” There may be more to the photo than meets the eye.
Helpful Composition Techniques For Sunsets
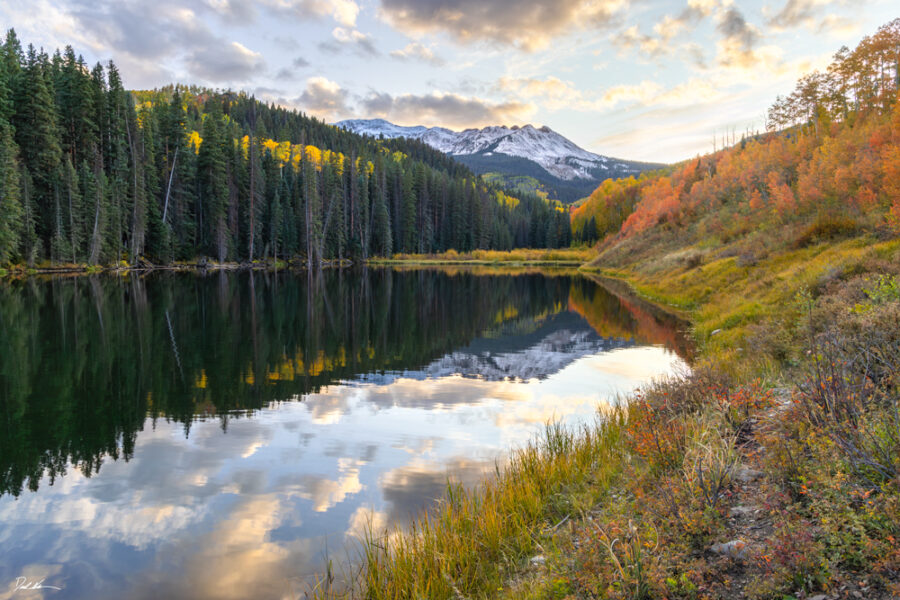
Think about the entire scene in a photograph as a story. Is the sun right in the middle of the photo, and the horizon splitting the scene in half with very little going on in the foreground? None of the following techniques should be considered law, but only as a guide to thinking about when crafting photos of sunsets.
- Rule of thirds – One of the more popular techniques in all artistic compositions. Place the most compelling subjects of a photograph on the thirds of a scene or their intersections. Simply imagine each scene has a tic-tac-toe grid, and place your subject matter on those lines. I am purposely keeping this non-technical.
- Foreground elements – When we place any element in the foreground of our photo, it allows the viewer to feel like they are there with us. Like they can walk right into the scene. A foreground subject acts as a starting point for the viewer’s journey through the photo.
- Leading lines – Find elements of your surroundings that pull your viewer’s eye to the most important subjects of your photo. This may be a couple watching the sunset or an animal in the scene. It could even be the sun itself. The idea is to assist the journey to the subject intentionally with leading lines.
- Horizon line – You are not wrong by placing the horizon across the middle of the image. That being said, experiment with placing the horizon at the bottom or top of the frame. There are no wrong answers.
- Find a unique perspective – So many photos are taken from the eye height of an average human. Next time, try going low to the ground to open up a completely different view of a familiar scene. Or, go high up to view the sunset with a bird’s-eye view. These changes in perspective already make a familiar scene more interesting.
How To Bracket Expose During Challenging Lighting Conditions
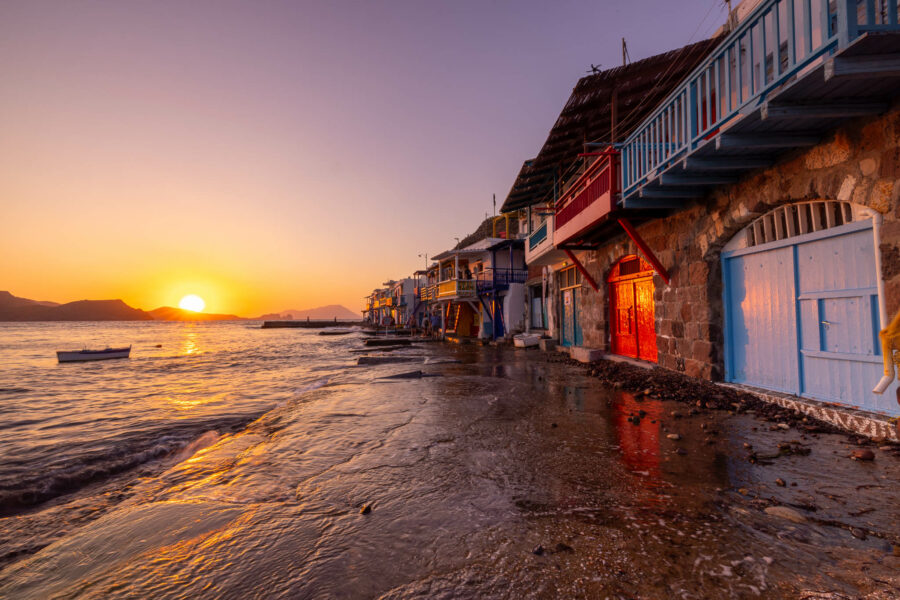
Exposure bracketing is a technique where a photographer takes multiple exposures of the same scene while adjusting the amount of light in each one. Typically, five photos are taken: two underexposed, one perfectly exposed, and two overexposed. They then review them independently to see which photo gives them the ideal result they were looking for. With the use of software like Adobe Lightroom or Photoshop, these techniques act as the starting point in the creative process. I find myself leaning toward underexposing most of my images intentionally to then bring the shadows out later in post-processing. This allows me to keep the details in my highlights. The key is to enter into each shot with intention, but bracket exposure allows you a safe way to bring a few variables home to begin working with.
Photography Gear To Help You Take Better Photos Of Sunsets
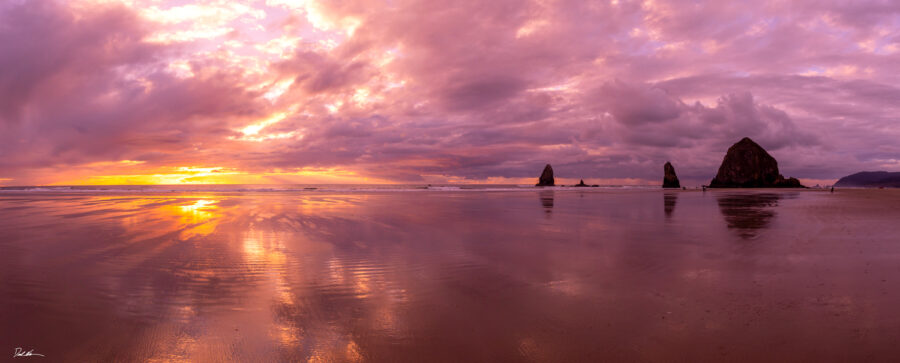
Without a doubt, having a creative eye is the number one thing that will result in beautiful, compelling shots. However, a few helpful items will go a long way to take home stunning shots.
- Tripod – A sturdy tripod is a photographer’s best friend. Camera shake happens with even the slightest movement, causing your images to become unsharp. I invested a good amount of money in a steady tripod, but I am certain I will use it for the rest of my life.
- Graduated Neutral Density Filter – Neutral density filters reduce the amount of light coming into your lens. A graduated neutral density filter allows more light in on the bottom of the filter than the top, with a very smooth transition from light to dark. This works very well for placing the darker part of the filter above the horizon, where the highlights are brightest, while still keeping the essential foreground elements properly exposed.
- Wide-Angle Lens – Today, even our phones have several different lenses on them. Use a phone for practice. Wide-angle lenses allow us to capture as much of the scene as possible. They allow us to pull in foreground elements to make the viewer feel they are standing right where the photos were captured.
- Telephoto Lens – I really enjoy using a telephoto lens when shooting sunsets because it allows me to compress the scene. Also, telephoto lenses make it fun to find abstract compositions that are unachievable with wide-angle lenses. Finally, if you are using a really large focal length, you can make the sun appear huge by focusing on a subject between you and the sun.
- Full-frame camera – If possible, using full-frame cameras with RAW files allows for the most amount of detail to be gathered in each photo. This will help afterward when we use post-processing software to edit. Having the most information available significantly improves the final image.
Scouting Your Location For Sunset Photography
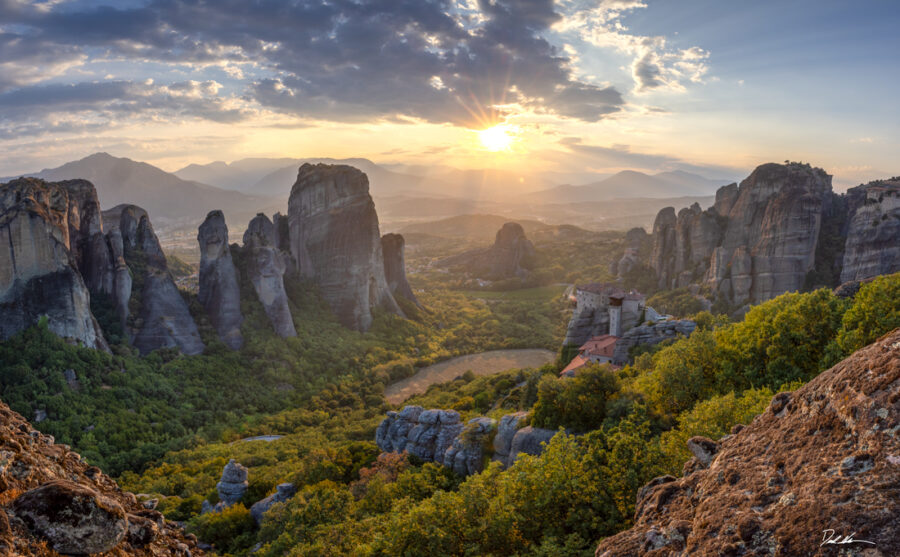
Landscape photographers will tell you that knowing your location well before setting up a shot is incredibly helpful. Use apps that can predict exactly where the sun will hit the horizon. This will allow you to compose the scene even before the sun gets in position. Check the local weather forecast. Websites like the National Weather Service or Sunsethue do a nice job of giving us more than enough information on how strong the sunset will be. Arrive early and take time to walk around the whole landscape before settling into the position that initially caught your eye.
My Number One Tip For Sunset Photography
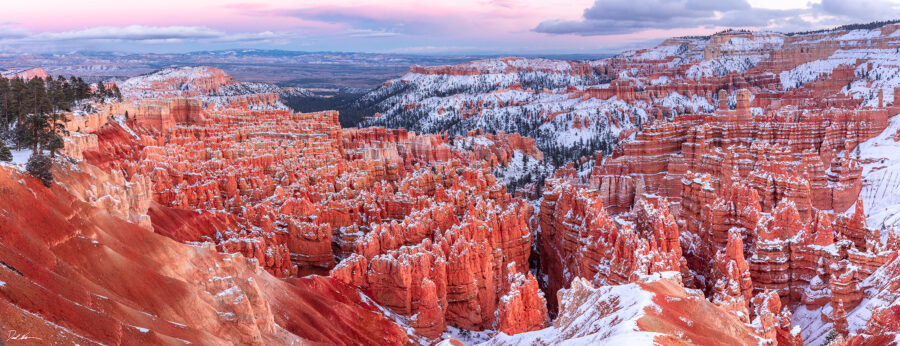
Point the camera away from the sun. Seriously. This sounds like a terrible tip for capturing sunsets, but the light that sunsets produce on the landscape is often better than the sunset itself. The soft, saturated light at golden hour turns ordinary landscapes into glowing works of art. The colors of a sunset turn white bricks into firey orange embers. Because of the wavelength of light being emitted from the sun, all colors become more saturated. Let the landscape behind you come alive.
How To Capture Sunset Photography In A City
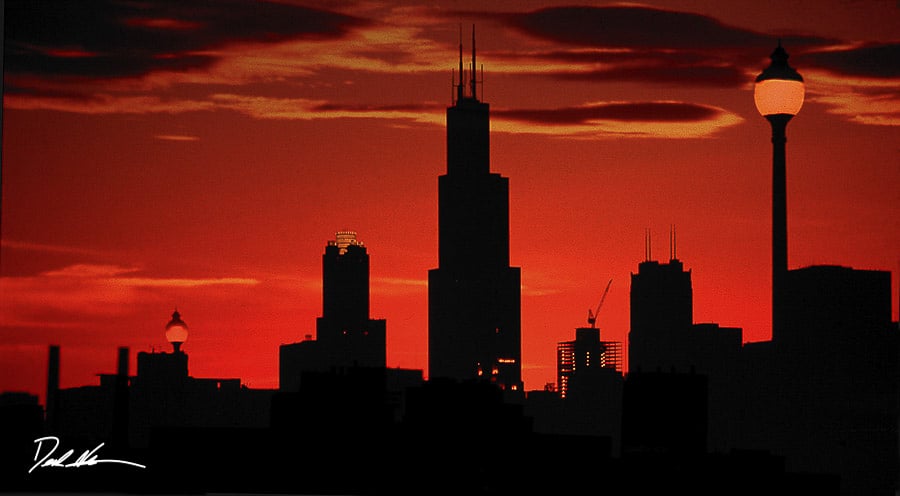
Being surrounded by tall buildings all the time here in Chicago, I know the challenges of not being able to see the sun disappear below the horizon all the time. Cities have their own playful ways of showing off during blue hour and golden hour. Crank up your composition game and use all kinds of signature elements that make a city unique and build around it. Find recognizable buildings. Here in Chicago, we have the Willis Tower, the old Hancock Building, and Bean, along with so many more. The Empire State Building in NYC, the Eiffel Tower in Paris, and Tower Bridge in London are all examples of iconic structures in a city to build around. Each city has one. Find them even if the sun won’t be at the horizon in your frame because the colors will be more than enough to compensate for the missing golden orb.
Make A Starburst With Your Lens
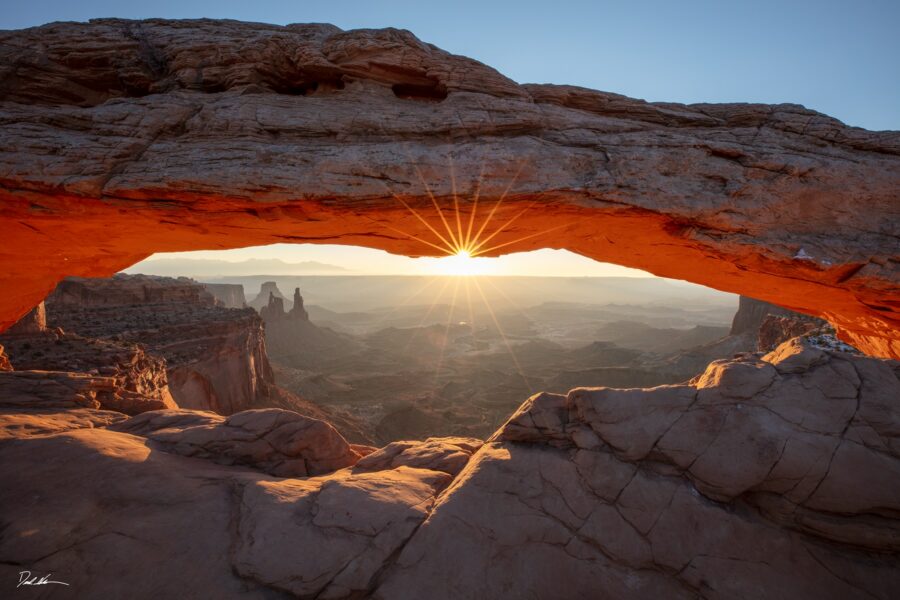
A nice way to add an element of interest to your sunset shot is to use a small aperture like f/16 or higher to create sun rays extending from the sun. The rays are actually the blades of your camera’s shutter. Point your camera towards the sun and see the fun rays in your final product. This technique works best when the sun is close to a solid edge, like against a building, rock formation, or even through the trees.
Add Context To Your Scene
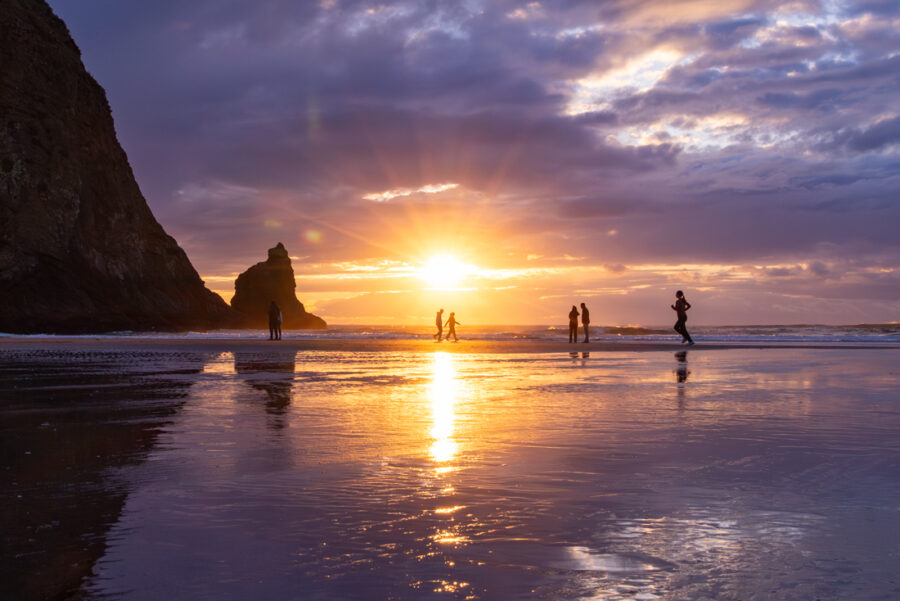
Landscape photography with just beautiful sunsets can get a bit repetitive if you don’t change the subject matter in the scene. Add people holding hands walking on a beach or try to capture birds flying through the sky to add a little extra to the composition. A nice way to add context is to look at the obvious surroundings and see what around you might come across as interesting. Let’s take a beach, for instance. The sun is setting over the water, with crashing waves, and then sand. It is a pretty scene, but it could be anywhere. Now add a blue striped umbrella and a beach towel from a local shop that has a location on it, and just like that, your viewer knows exactly where this is. Transport your viewers to the place as if they were there.
Get Creative With Sunset Photography
Some of my favorite sunset photos are the ones where people have put a little extra thought into the shot. Take, for instance, the photographs where the photographer uses the orange sphere of the setting sun as an object. For instance, when someone holds it in their hand or a series of photos where someone is grabbing the sun and putting it in the back of their car. The possibilities are limitless. Set your camera up on a tripod and see what you can create with a friend who is enthusiastic about helping make something fun together. If you need inspiration, just search for creative sunset photos. The internet is full of creative people.
Are Sunsets Or Sunrises Better To Photograph
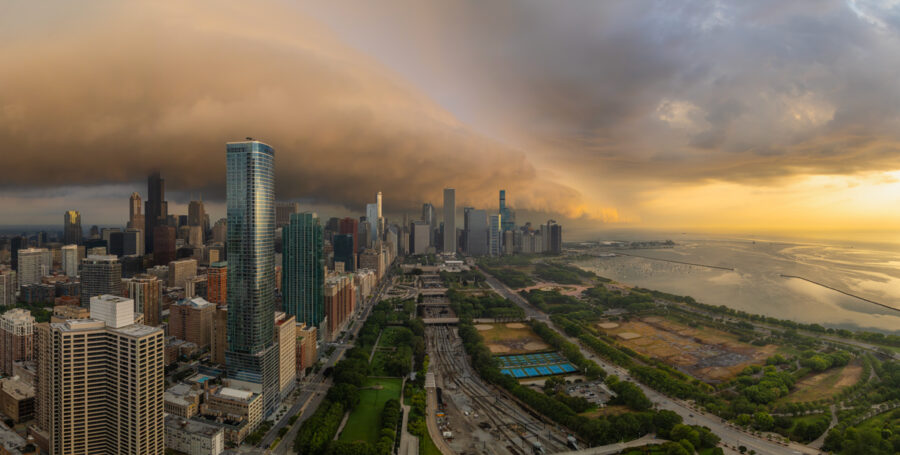
The Awakening – 1 of 1 extremely limited edition fine art print – Derek Nielsen Photography
This is a tough question I get all the time as a professional photographer. Personally, I prefer to photograph sunrises only because fewer people are up that early in the morning to get in my shot. That being said, sunsets are generally easier to photograph because setting up your composition is done in the light and not in the darkness like sunrises are. In general, sunsets have more particles in the air due to the environmental disturbances during the day. More particles create enhanced colors in a sunset. As mentioned in the scouting section, Sunsethue is a great tool for helping predict the strength of the sunset each evening.
Top 5 Locations In The World For Sunset Photography
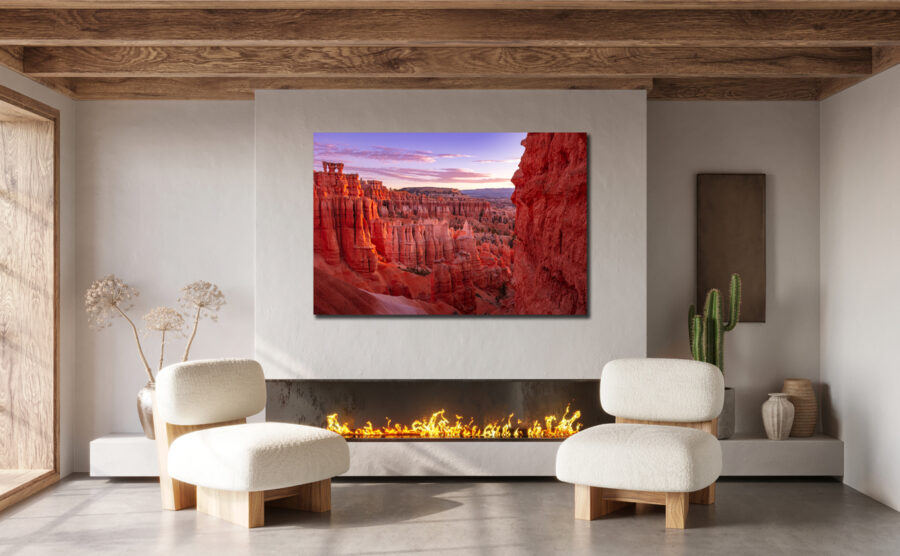
This list could go on and on because we live on such a beautiful planet, but these locations are naturally beautiful and have some of the best sunsets consistently. Adding them to your growing list of sunset locations to visit will undoubtedly make you the envy of your travel friends.
- Iceland – Visit Iceland in the early spring or late fall to see some of the longest, most beautiful sunsets you have ever seen. Not only is the landscape stunningly beautiful, but also, because it is located near the Arctic Circle, sunsets can last for hours.
- Patagonia – For the same reasons as Iceland, Patagonia also has some of the most beautiful, untouched landscapes on the planet. The towering mountains, along with pristine lakes, make Patagonia a must-visit. Sunsets also last longer here due to its location far south of the equator.
- East Africa – Very few places on earth can compare to the raw beauty of East Africa. The wildlife, mountains, and trees create unmatched sunsets for nature photographers. For the skilled and lucky, catching a golden sunset with an iconic lion in a tree is an instant portfolio shot.
- The American Southwest – With the sheer number of National Parks in the region and the abundance of dust in the air, the American Southwest gets more than its fair share of incredible sunsets.
- Santorini, Greece – Even though Santorini is one of my least favorite Greek Islands, one can not argue its sunsets are anything less than spectacular. Set high up on the rim of a collapsed caldera, Santorini faces southwest, giving viewers expansive views over the Mediterranean Sea.
How To Capture Sunset Photography In Iconic Locations
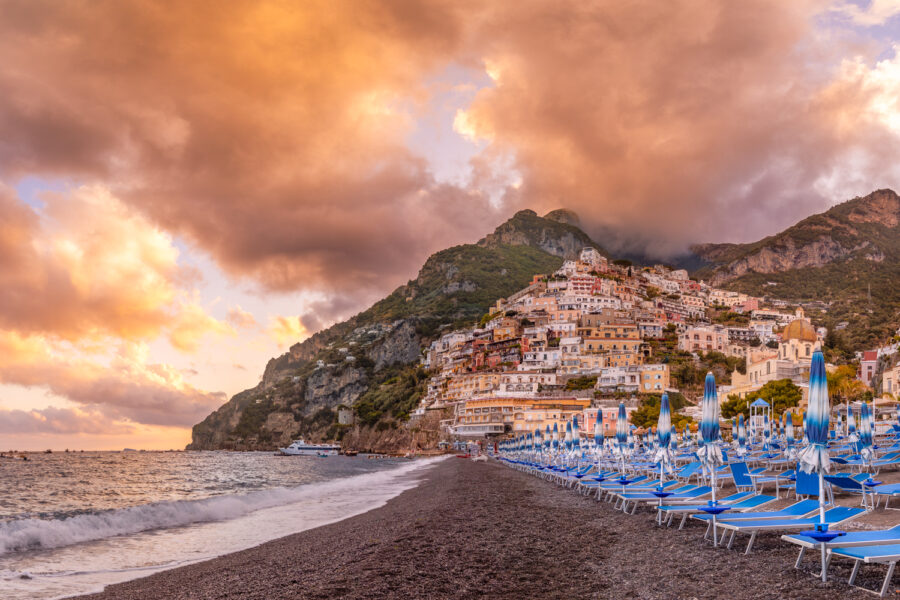
Positano Breeze – Limited Edition Fine Art Print Of 6 – Derek Nielsen Photography
When photographing iconic locations at sunset, timing and perspective are everything. Arrive early so you can scout your composition before the light changes—sunsets happen fast, and the best glow often comes in the minutes just after the sun dips below the horizon. Pay attention to how the fading light interacts with the landmark, creating silhouettes, warm reflections, or dramatic shadows. Use a tripod for stability as the light dims, and consider bracketing your exposures to capture both the detail in the highlights and the depth in the shadows. Finally, look for unique angles or foreground elements—like water, foliage, or architectural lines—that add context and make your sunset image of a well-photographed location feel fresh and personal.
Go Have Fun With Sunsets
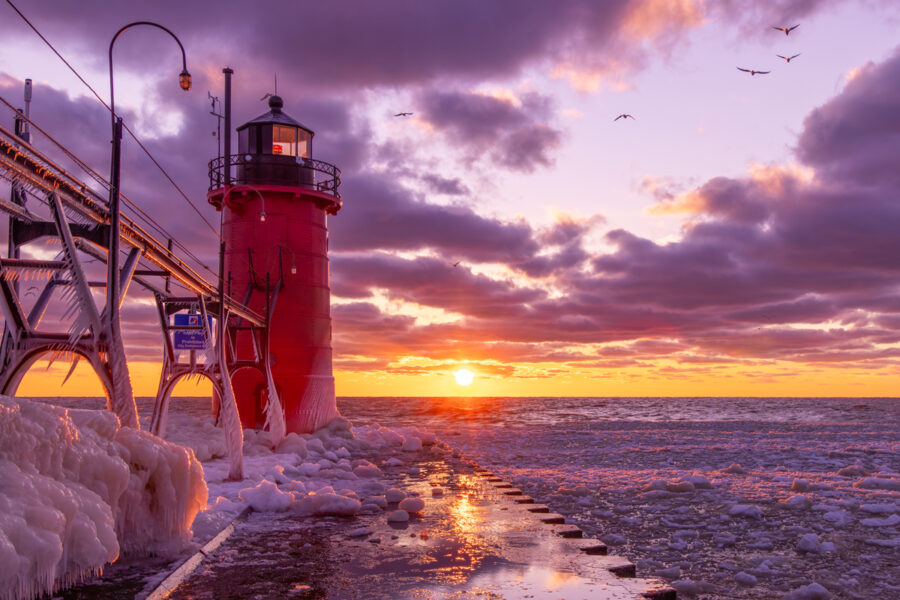
South Haven In My Heart – Limited Edition Fine Art Print Of 6 – Derek Nielsen Photography
They are one of the best parts of the day for a reason. Try all the fun techniques mentioned above. Each one takes time to master, but practice will absolutely improve your skills gradually. I look back at all the incredible sunsets I have been lucky to capture over the years with loved ones, and each is so unique. Remember to set down the camera from time to time and just soak it in. We often get so caught up in capturing the moment that we forget to truly live it. If you enjoyed this article, please scroll through the rest of my articles on helpful tips around photography and travel.
What is the cost of not pursuing your dream and becoming a great photographer?
Learn More
Imagine always wondering what would have happened if you had only invested in yourself and your passions. Think about how quickly life goes. Don’t wait for tomorrow to do the things you have been thinking about doing! Take the trip. Start that business. Invest in yourself. Without photography, I don’t know what my life would look like, but it would be a lot less inspiring. Don’t let another day go by without creating the life you truly want.
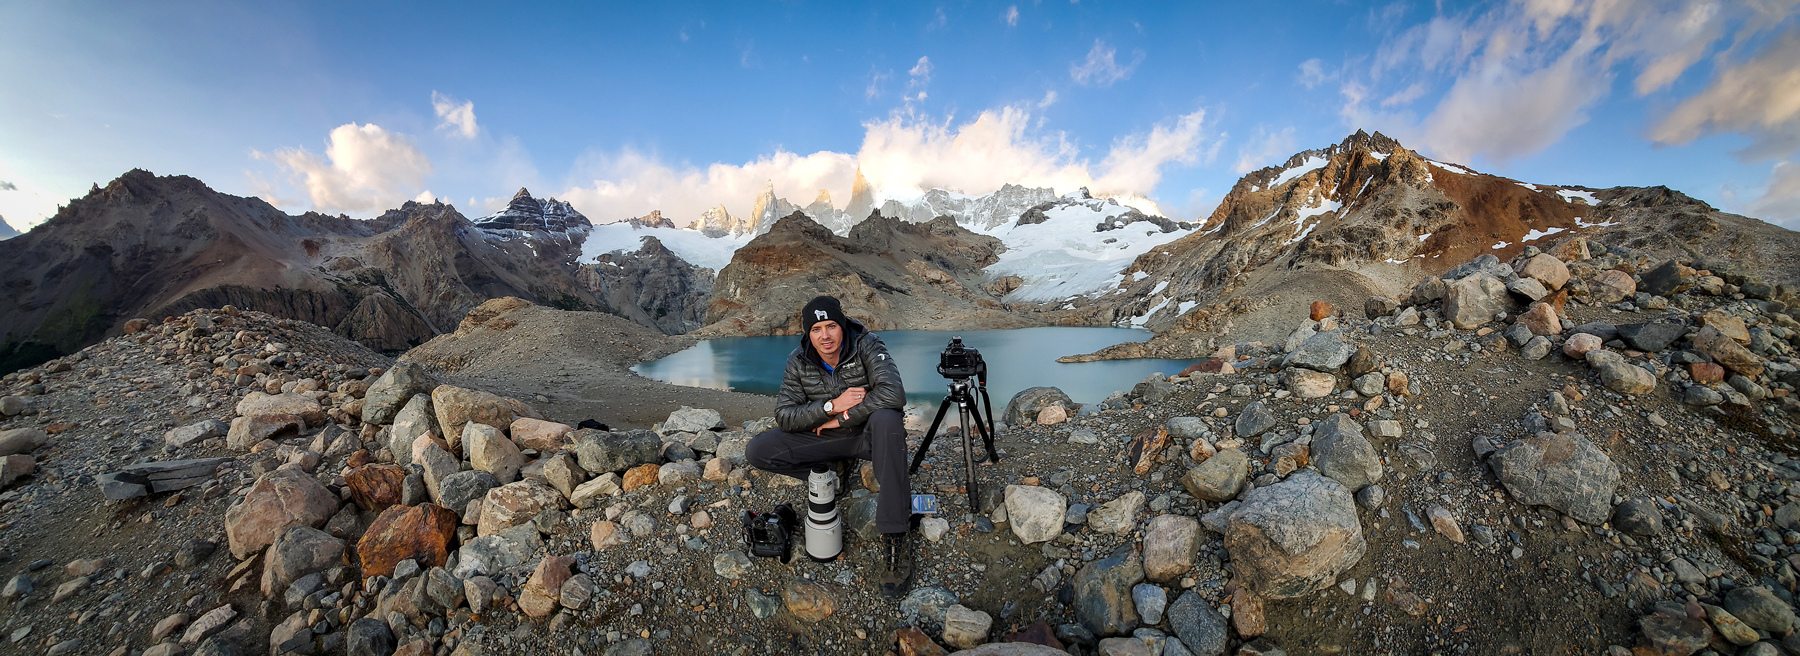
Hello! I'm Derek.
DEREK NIELSEN PHOTOGRAPHY RAISES AWARENESS ABOUT THE GLOBAL NEED FOR CONSERVATION THROUGH PHOTOGRAPHY AND DONATES UP TO 15% OF ALL SALES BACK TO ENVIRONMENTAL ORGANIZATIONS AROUND THE WORLD.
